A bone-stock trail bike with stock clickers will out-ride a $1,200 revalve if the rider never touches the adjusters. That number comes from a rough tally I kept over two seasons of shop days: of the roughly 40 riders who paid for suspension work, 31 had never measured their sag, and 19 had rebound screws buried all the way in from the factory.
So before you hand a credit card to a tuner, here is the list I wish more people read. It is not glamorous. It is the difference between a bike that fights you on roots and one that just disappears underneath you.
Set Sag First, Because Everything Else Is Noise
Rear sag is the foundation. Get it wrong and every clicker change you make afterward is you chasing a symptom that does not exist.
Here is the method I use in the driveway, no fancy tools:
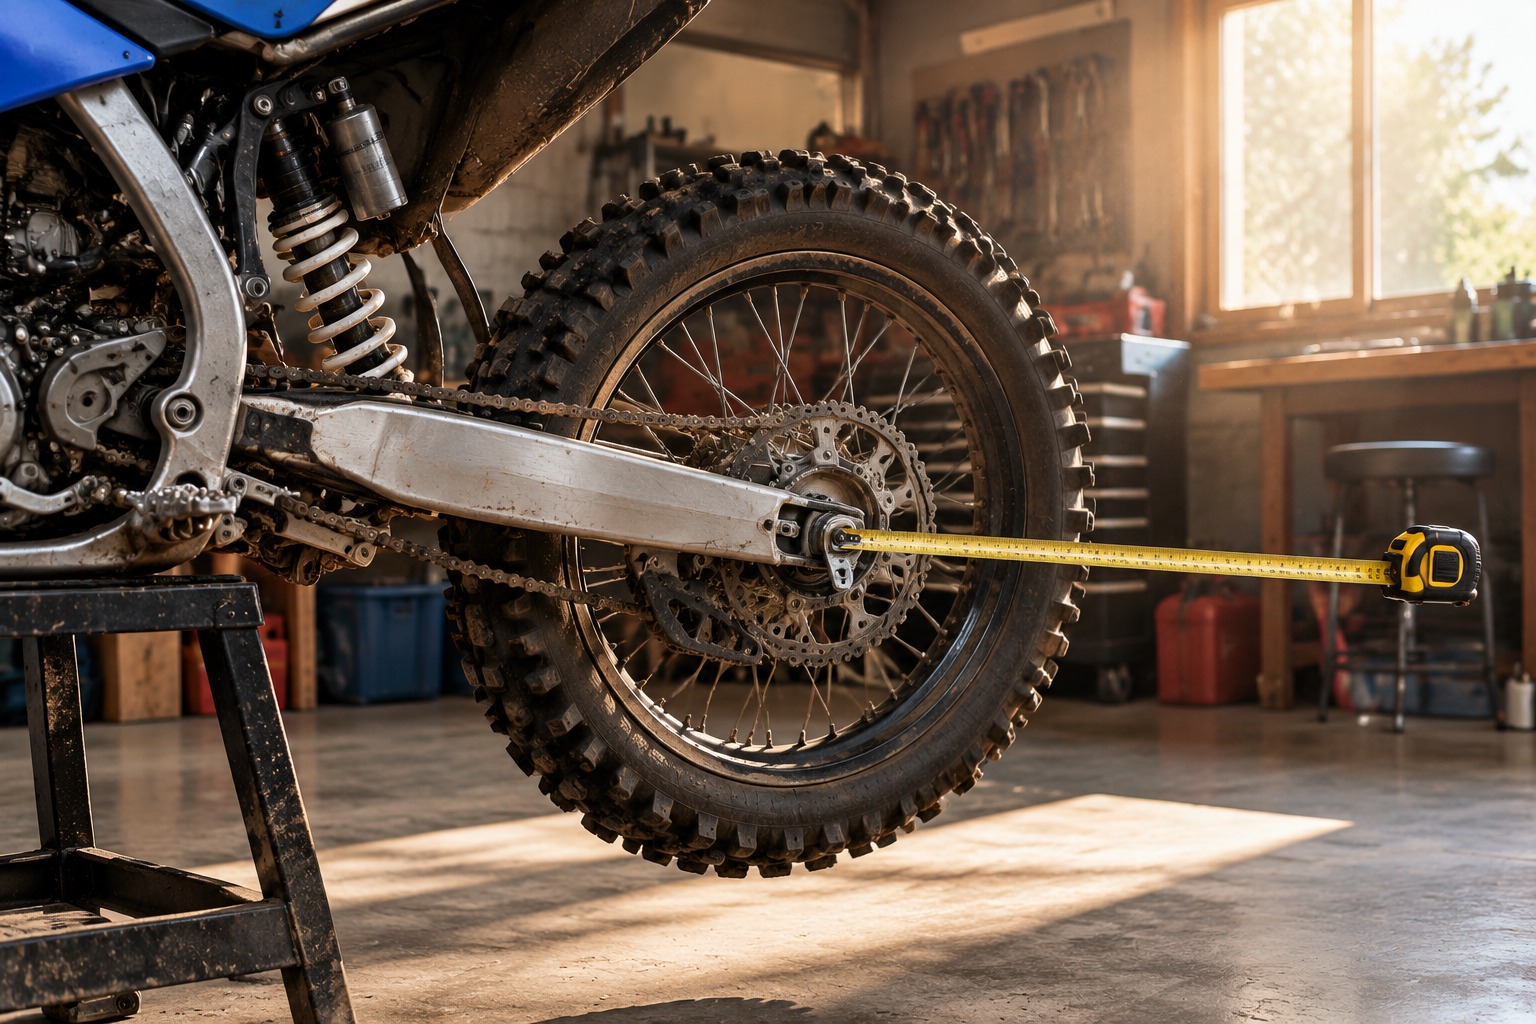
- Bike on a stand, wheels off the ground. Measure from the rear axle straight up to a fixed point on the fender. Write it down.
- Rider on the bike, full gear, boots on, standing in attack position. Bounce down, let it settle, measure again. That gap is your static-plus-rider sag.
- Target for a trail bike is usually 30 to 35 percent of total travel. On a 300mm-travel bike, that is 90 to 105mm. Enduro-ish trail riding sits closer to 100mm; faster, rockier terrain wants a touch less.
If you are outside that window, change the spring, not the clickers. A rider at 95kg on a bike sprung for 75kg will run 15 to 20 clicks of compression to stop it diving, and the result is a harsh, skittery front end on wet roots. I watched a guy spend three weekends fiddling with rebound before anyone asked his weight. New spring, 40 minutes, problem gone.
One more thing: measure sag with the same gear you actually ride in. A hydration pack and a tool belt add 4 to 6kg, which is enough to move sag by several millimeters.
Clickers: Which One Does What, and In What Order
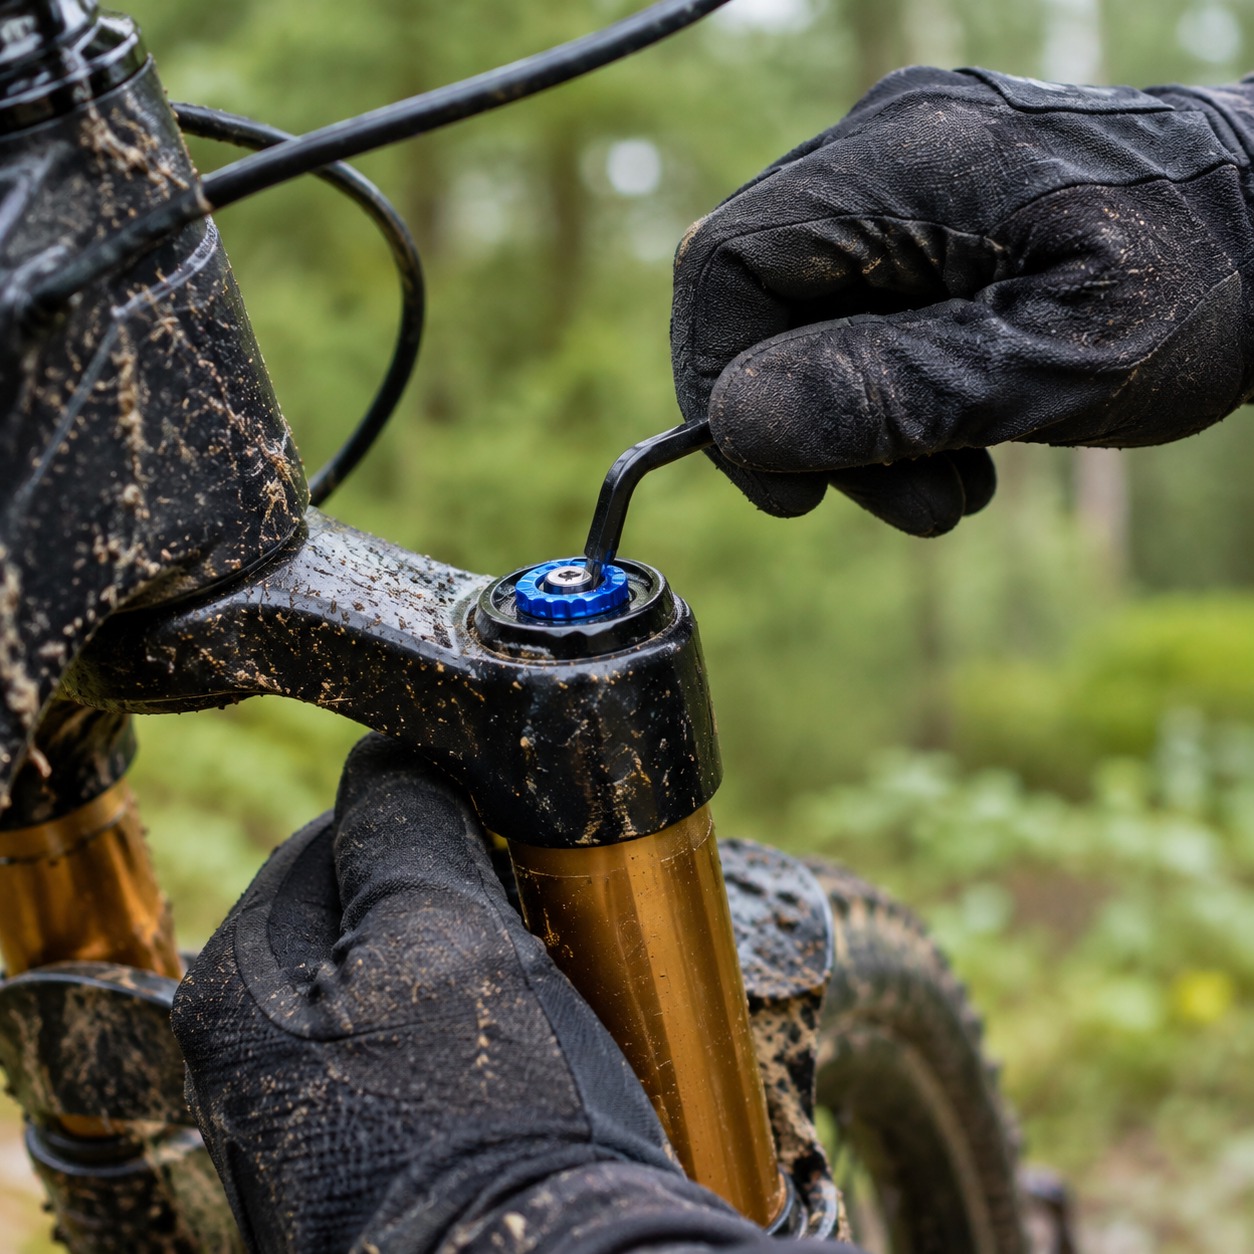
Most trail forks and shocks give you three knobs worth caring about: low-speed compression, high-speed compression (often a hex on the shock), and rebound. Some have separate high- and low-speed rebound. Trail bikes rarely need the high-speed rebound touched.
My order of operations, and the reasoning behind it:
- Rebound first. Push down hard on the seat or the fork and let go. The bike should come up and stop, not pogo past neutral. Too fast and the bike kicks you over square-edged bumps. Too slow and it packs down over a series of hits until you are riding a rigid frame. Count clicks from fully seated and write the number down.
- Low-speed compression second. This is brake dive and chassis pitch. If the front dives under hard braking into a corner and the rear feels like it is trying to pass you, add a couple of clicks.
- High-speed compression last, and sparingly. This is the big-hit circuit. If you are getting blown off line on rock gardens but the bike feels plush everywhere else, back it out one or two clicks.
Change one thing at a time, and ride the same 200-meter section three times before you judge it. Trail feel is deceptive. What feels stiff in the parking lot often feels right at speed, and what feels plush at 10 km/h will bottom out at 40.
A baseline that works for a lot of 250-350cc trail bikes in mixed terrain: rebound 10 to 14 clicks out from full-in, low-speed compression 8 to 12 clicks out, high-speed compression 1.5 to 2 turns out. That is a starting point, not gospel. More detailed baseline charts by bike model are worth keeping in your phone for reference.
Trail-Specific Traps That Cost Real Money
This is where the list gets less about knobs and more about not wasting cash.
Stiction is the silent thief. Before you blame valving, check that your fork is actually sliding freely. Loosen the axle pinch bolts, bounce the fork, retighten in the correct sequence. I have seen a misaligned front end feel exactly like a blown compression stack. Cost to fix: zero.
Oil condition matters more than you think. Fork oil at 30 hours of hard trail use is noticeably thinner and dirtier than fresh oil. If your bike has 60 hours on the original fluid, a $60 oil and seal service will change the ride more than a $400 revalve. Do the cheap thing first.
Do not buy a revalve to fix a spring rate problem. This is the single most common waste of money I see. A tuner can only do so much with shims if the spring is wrong for your weight and terrain. Ask the shop directly: “Is my spring rate in range?” If they dodge the question, walk.
Terrain changes the answer. The suspension settings for trail riding in deep, loamy woods are not the same as for rocky, hardpack scrambles. Loam rewards a slightly softer, faster-rebound setup so the tire stays planted. Rock wants more low-speed support so the fork does not blow through its stroke. If you ride both, pick the setting for the terrain you ride worst, not the one you ride most.
Log everything. A notebook or a note on your phone with date, terrain, temperature, clicker positions, and one sentence on how it felt. After 10 rides you will see patterns you cannot remember. I still have a page from a wet November ride that reads “rebound out 2 more, front finally stopped deflecting on roots” — that single note saved me a season of guessing.
Quick answer on cost
If you are deciding where to put money: sag and spring rate first (a spring runs roughly $100 to $140), then a fluid and seal service ($60 to $120 in parts, more with labor), then clicker tuning (free), and only then a revalve ($350 to $700 depending on shop and whether both ends are done). Most trail riders never need to go past step three.
What I would actually do this weekend
Measure sag with your gear on. Write the number down. Then set rebound to the middle of its range, low-speed compression 10 clicks out, and go ride your least favorite trail. Adjust one clicker at a time, one ride at a time. If the bike still fights you after that, you have earned the right to pay a tuner — and you will be able to tell them exactly what it is doing, which is worth more than any shim stack.