Last spring I watched a guy at a trailhead in Moab spray his brand-new chain with WD-40, wipe it with a rag, and call it done. Eight months later he was replacing the chain, both sprockets, and a countershaft seal. The bill came to about $340 in parts alone. The veteran parked next to him spent maybe ten minutes on the same job and got 14,000 miles out of his last setup. Same bike class, same terrain, very different habits.
What separates the two isn’t expensive gear or secret knowledge. It’s a handful of small decisions about how often you clean, what you clean with, and how you tension the thing. Here’s how the two camps actually differ, plus a step-by-step routine that works whether you ride weekends or race every other Sunday.
Why the chain is the cheapest thing you’ll ever neglect
A 520 O-ring chain for a 250cc trail bike runs $60 to $110. A matched sprocket set adds another $80 to $150. Replace them together and you’re looking at a $200 afternoon. Skip the maintenance and the wear accelerates in a way that’s easy to measure: a chain that’s cleaned and lubed every 300 miles typically lasts 10,000 to 15,000 miles on a trail bike. Neglect it and you’ll be lucky to see 4,000.
The mechanism is simple. Grit works its way past the O-rings and grinds the pins and bushings from the inside. Once the internal grease is gone, no amount of external lube brings it back. You can’t see that damage until the chain starts kinking or the pitch stretches past spec. By then the sprockets have already worn to match the stretched chain, which is why replacing a chain alone on worn sprockets is a waste of money.
New riders tend to think of chain lube as protection. Veterans think of it as a delivery system for the O-rings’ internal grease and a barrier against water. That framing changes everything about product choice and application.
New rider habits vs. veteran habits
Cleaning: the solvent mistake
The most common new-rider move is hosing the chain down with brake cleaner or a stiff brush and a bucket of degreaser. It looks satisfying. It also strips the factory grease out of the O-rings and pushes grit deeper into the rollers. One rider I know did this every wash for a season and killed a chain in 3,200 miles.
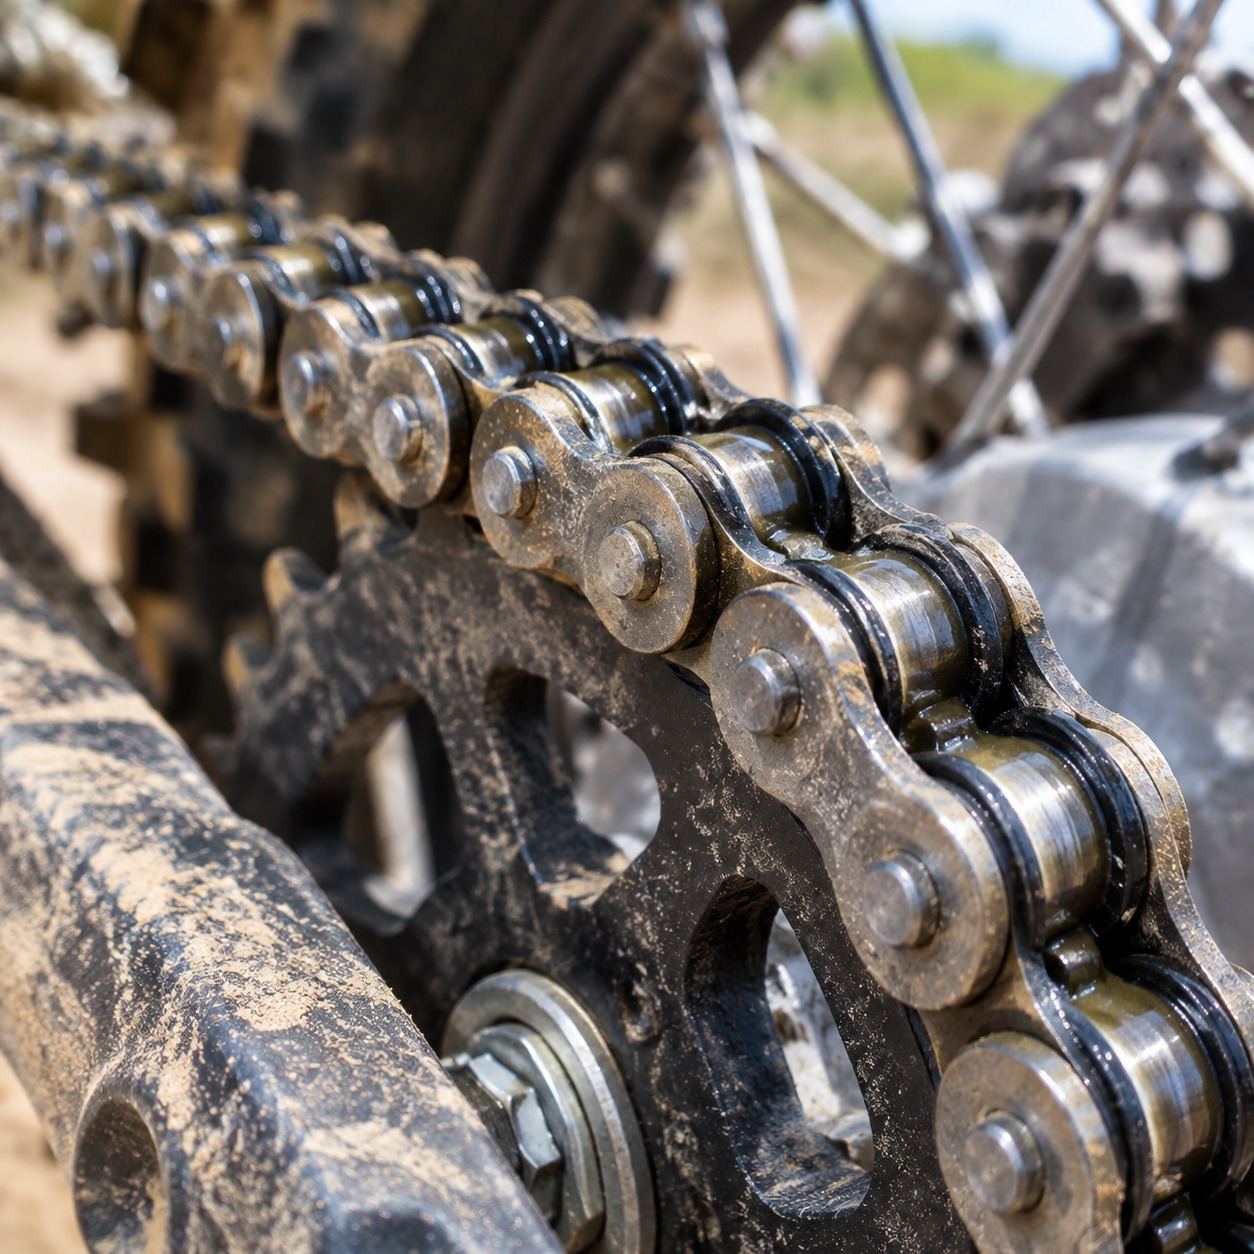
Veterans use a dedicated chain cleaner or kerosene, a soft brush, and a grunge brush on the outside only. Kerosene is cheap, about $12 a gallon, and it won’t attack the O-rings. The trick is to clean the chain while it’s still slightly warm from a ride, then wipe it dry before it flash-rusts. Never use a pressure washer directly on the chain — 1,500 psi will drive water past the rings in seconds.
Lubrication: less is more, but placement matters
New riders soak the chain. Lube flies off, collects dirt, and turns into grinding paste. Veterans apply a thin line to the inside of the rollers, let it sit 15 to 30 minutes so the carrier evaporates, then wipe the excess off the outer plates. A 400ml can lasts a veteran most of a season; a new rider burns through one in six weeks.

Wax-based lubes are the current favorite for dry, dusty conditions. They don’t attract grit the way oil-based products do. For wet, muddy riding, a heavier oil-based lube still wins because it stays put. There’s no single best product — the conditions decide.
Tension: the 30mm rule and why it’s not universal
Every manual gives a slack spec, usually 25 to 35mm of up-and-down play at the midpoint between sprockets. New riders set it once and forget it. Veterans check it before every ride, because a chain tightens as the suspension compresses. Set it too tight and you’ll lunch the countershaft bearing — a $400 repair on most bikes.
The correct method is to sit on the bike or compress the rear suspension until the countershaft, swingarm pivot, and rear axle are in line, then check slack. That’s the tightest point. If you set slack on a stand, you’re guessing.
A step-by-step routine that takes 12 minutes
- Rear wheel off the ground. A paddock stand or a crate under the skid plate works. Spin the wheel and listen for tight spots.
- Clean with kerosene or a dedicated cleaner. Soft brush on the sides, grunge brush for the rollers. Wipe dry with a lint-free rag.
- Inspect the O-rings. Look for cracked, missing, or protruding rings. If more than a few are gone, the chain is done.
- Measure stretch. On most 520 chains, 20 links should measure under 12.7 inches (323mm). Over that, replace it.
- Apply lube to the inside of the rollers. One pass, thin coat. Let it flash off for 15 minutes.
- Wipe the outer plates. This keeps fling-off down and makes the next clean easier.
- Check tension with the suspension compressed. Adjust at the axle blocks, keep the wheel aligned, torque the axle nut to spec — usually 65 to 80 ft-lbs on a 250.
That’s it. No pressure washer, no brake cleaner, no soaking. Do this every 300 miles of trail riding or after every muddy ride, and you’ll get double the life out of your drivetrain. For riders who want a deeper reference on wear limits and torque specs, has a solid breakdown by chain size.
What actually kills chains fastest
Ranked by how often I see them cause premature failure: pressure washing, over-tensioning, using the wrong lube for the conditions, and cleaning with harsh solvents. Notice that none of these are about riding hard. A raced bike with a disciplined maintenance routine outlasts a trail bike that gets hosed down and ignored.
The math is boring but real. Twelve minutes every few rides versus a $200 parts bill and an afternoon in the garage. The veterans figured that out a long time ago. The rest of us learn it one stretched chain at a time.